Create your first Amazon Alexa skill using Convoworks WordPress plugin and InstaWP – no server, no registration required
Don't have your own, or you don't want to bother with installing a new WordPress instance? Now you can try Convoworks using the InstaWP. InstaWP is a service that enables you to easily create and access a fresh WordPress installation that you can use to test or showcase plugin, theme ... no registration, no server required, only thing is that the website will be available for 8 hours.
Create InstaWP website
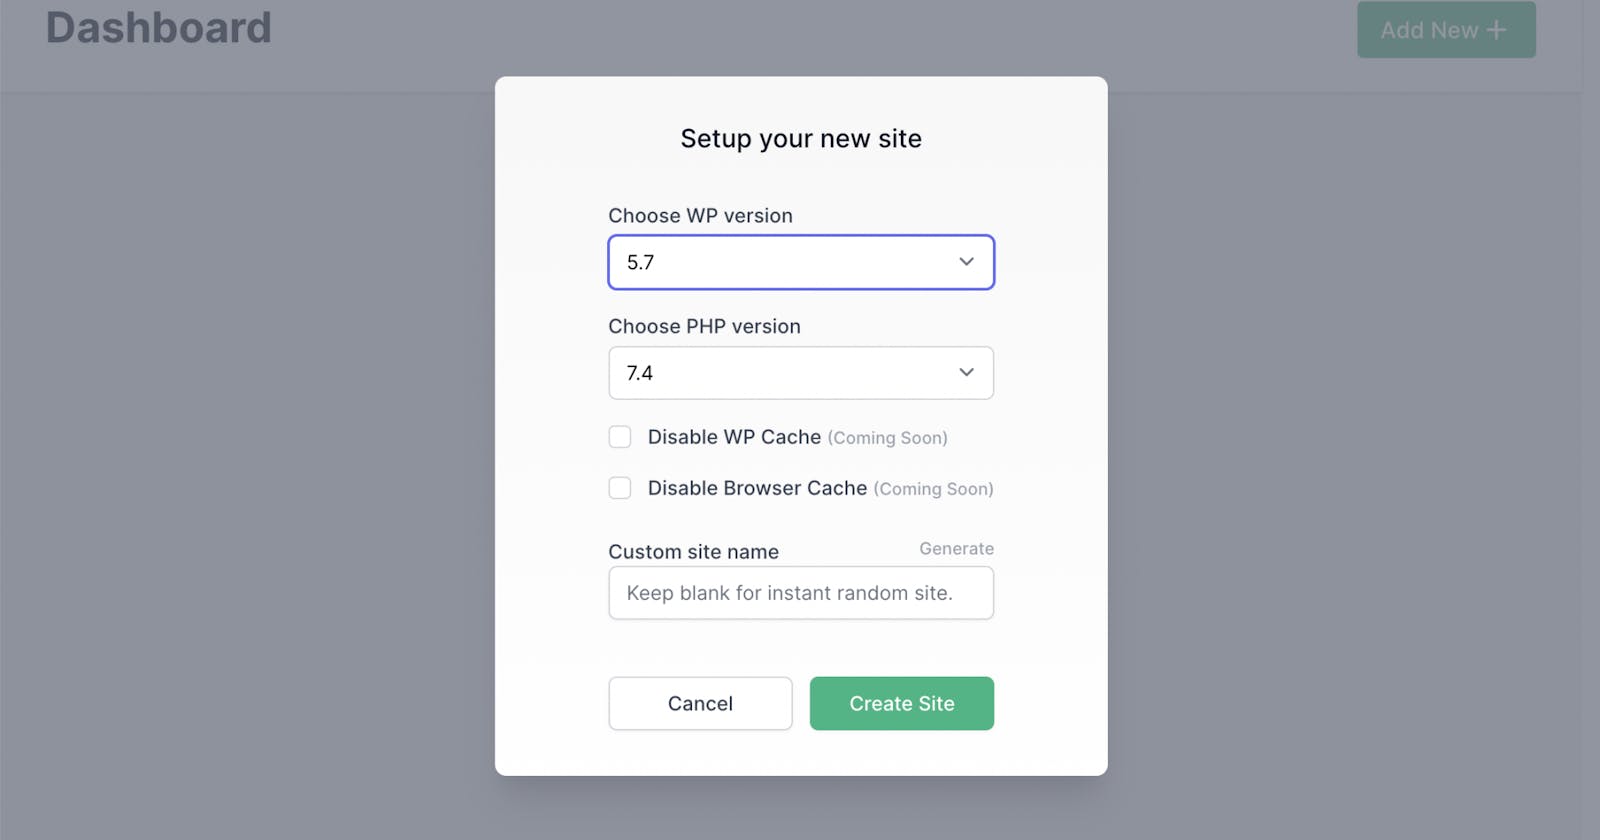
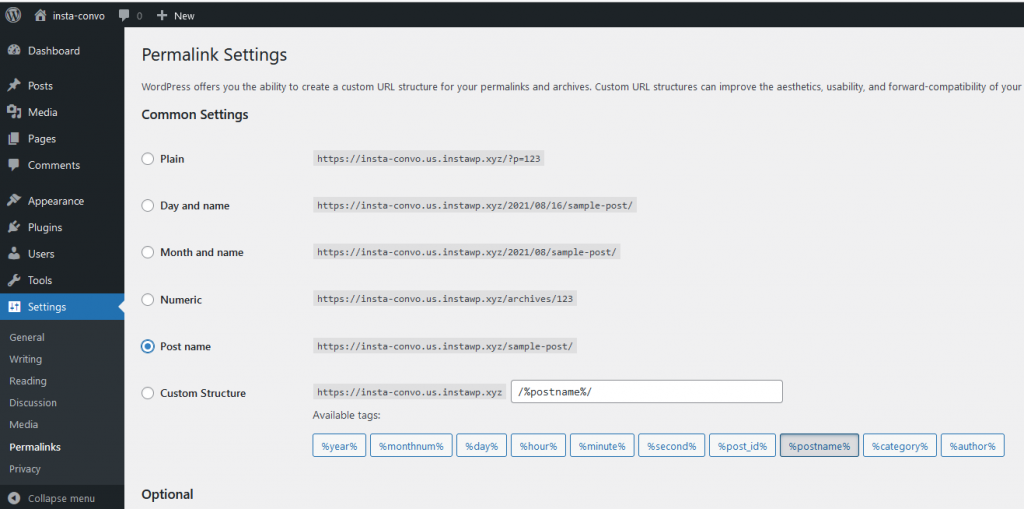
Just follow this link, enter your subdomain and your site will be ready in a matter of seconds. Click on the "Access now" and login with the provided credentials.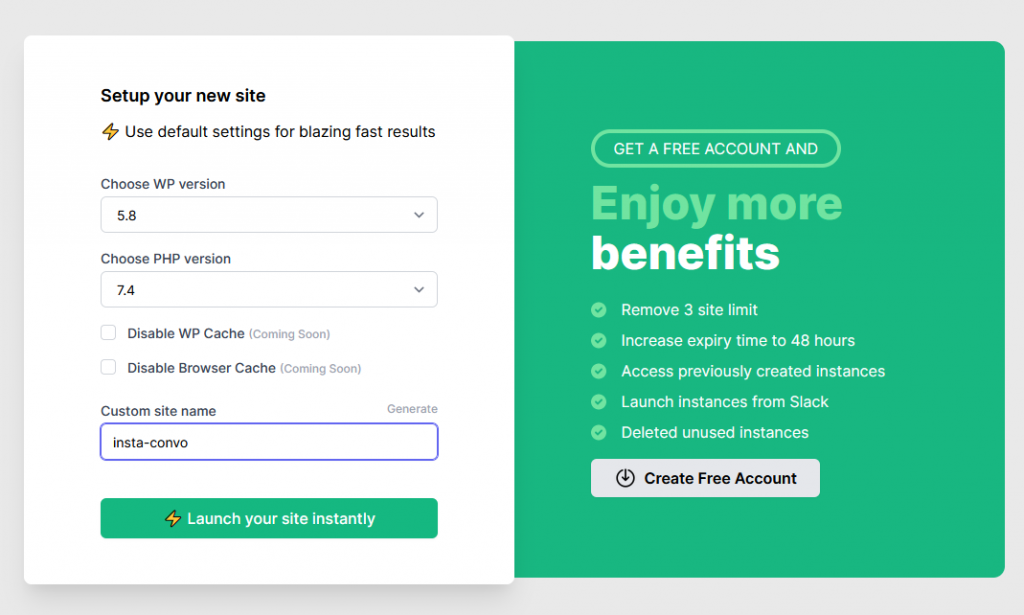 Important: Navigate to "Settings/Permalinks" and select "Post name" in "Common Settings" section. This is not required if you are using a regular WordPress installation, but it is required when using InstaWP.
Add Convoworks WP
Once you have your WordPress website up, navigate to "Plugins/Add new", add and activate Convoworks WP.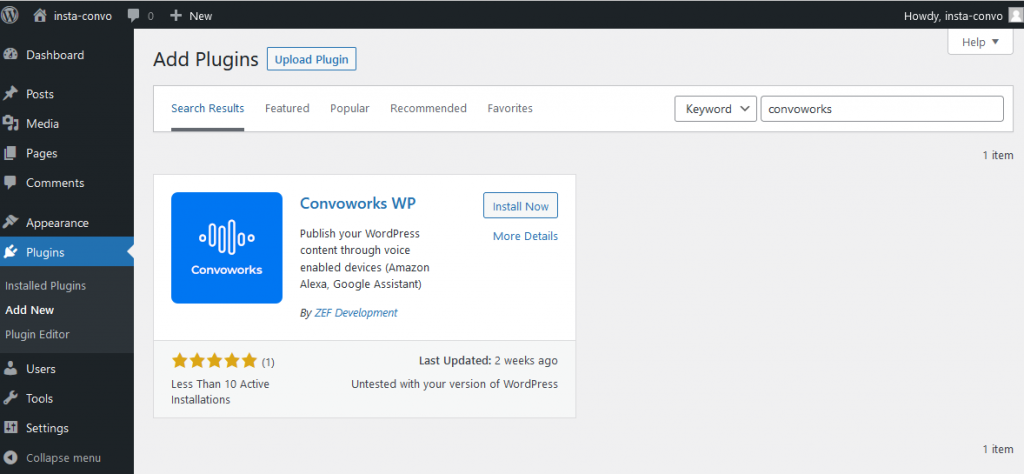 After activation, you should end up on the Getting started view. From it you can access Amazon Alexa main settings page, start the new voice service or access related documentation pages.
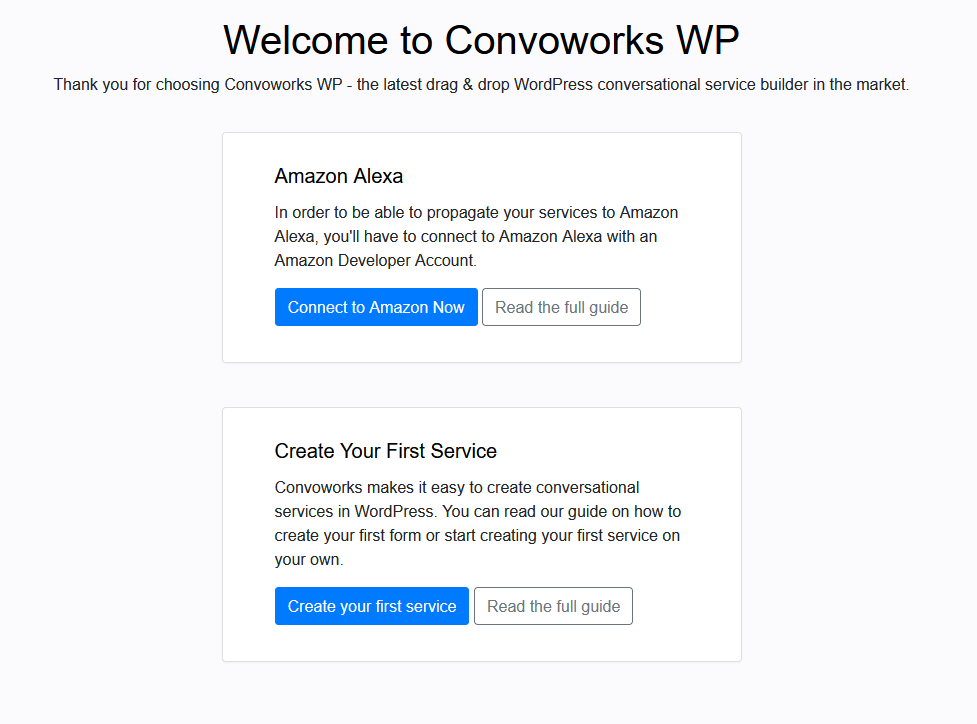
Connect it to your Amazon developer account
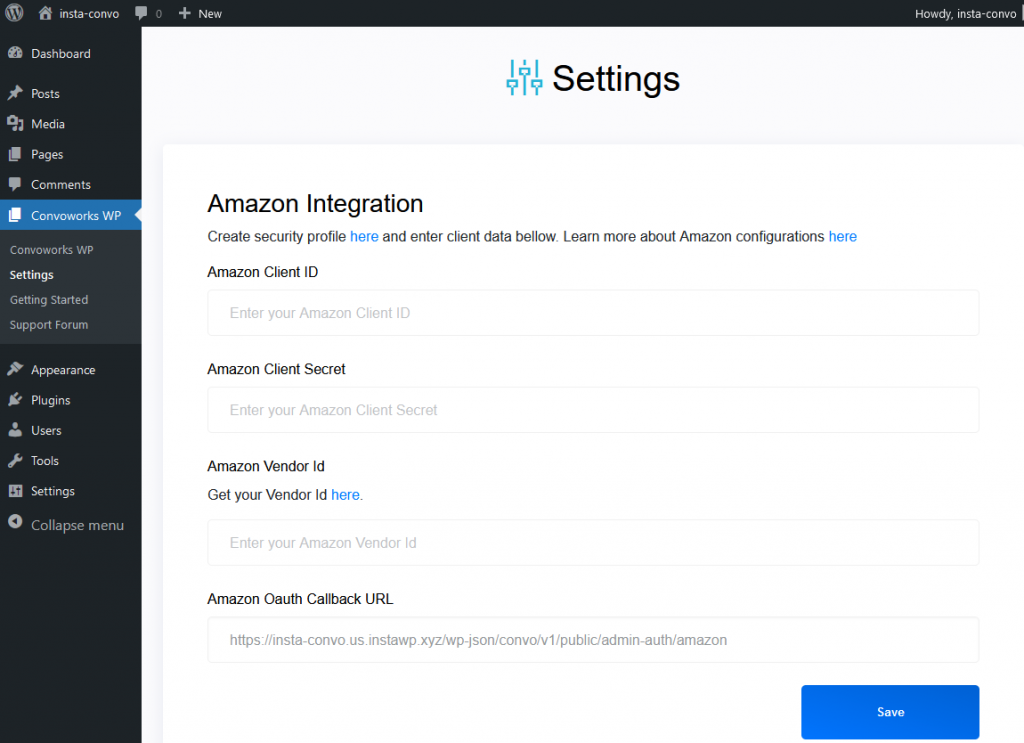 In order to create Alexa skills from your WordPress installation, we have to connect it to your amazon account. Please note that GUI provides you with the direct links on Amazon where you can find or set up required information.
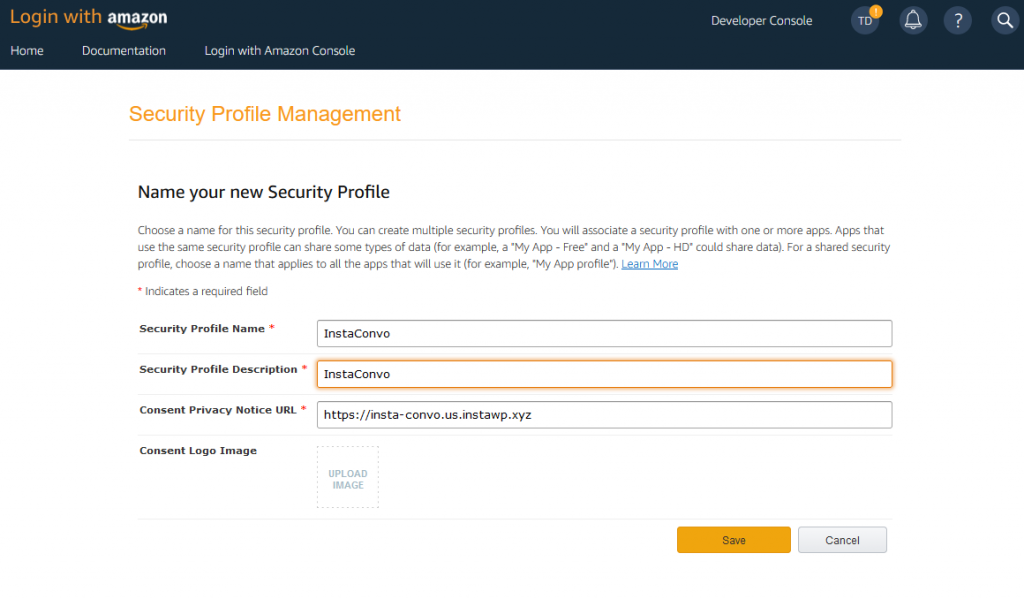
First enter your Vendor ID which you can find here. After that create a new security profile. For test purposes, you can use any url for the "Consent Privacy Notice URL".
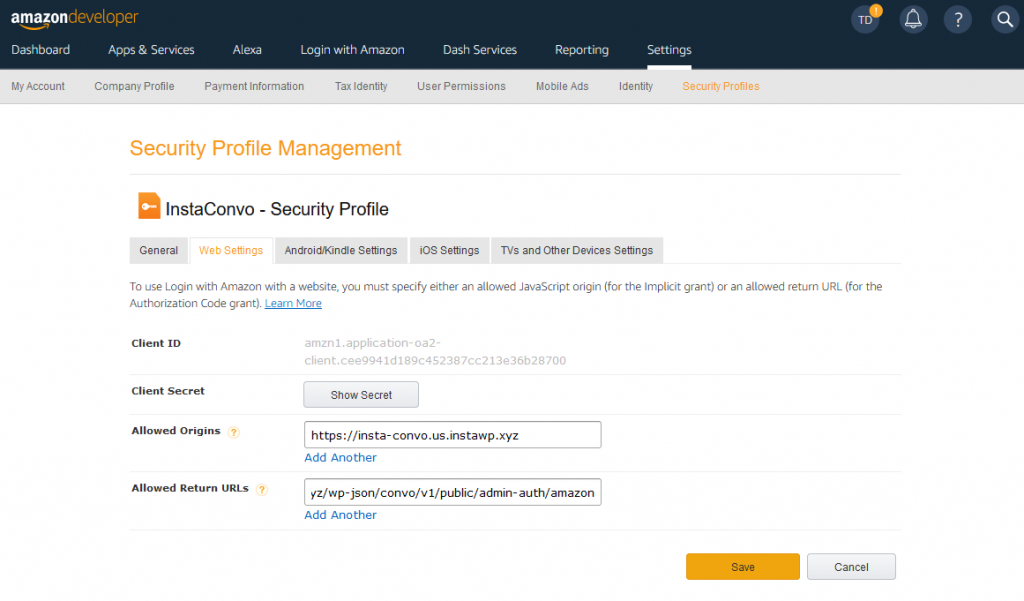
Once it is created, go to its Web Settings and set "Allowed Origins" to your website domain and set "Allowed Return URLs" to the url provided at your Convoworks Amazon settings page - "Amazon Oauth Callback URL".
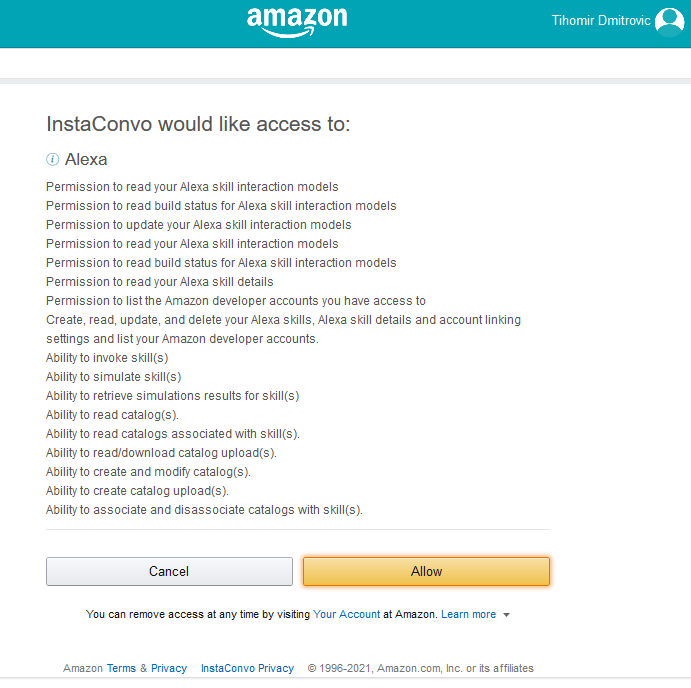
Now use Client ID and Secret provided in the Amazon security profile and enter it to the Convoworks Amazon settings page. Press "Save", then "Connect" and you should be redirected to the Amazon consent screen. After you allow access, your Convoworks installation is ready.
Create your first Alexa skill
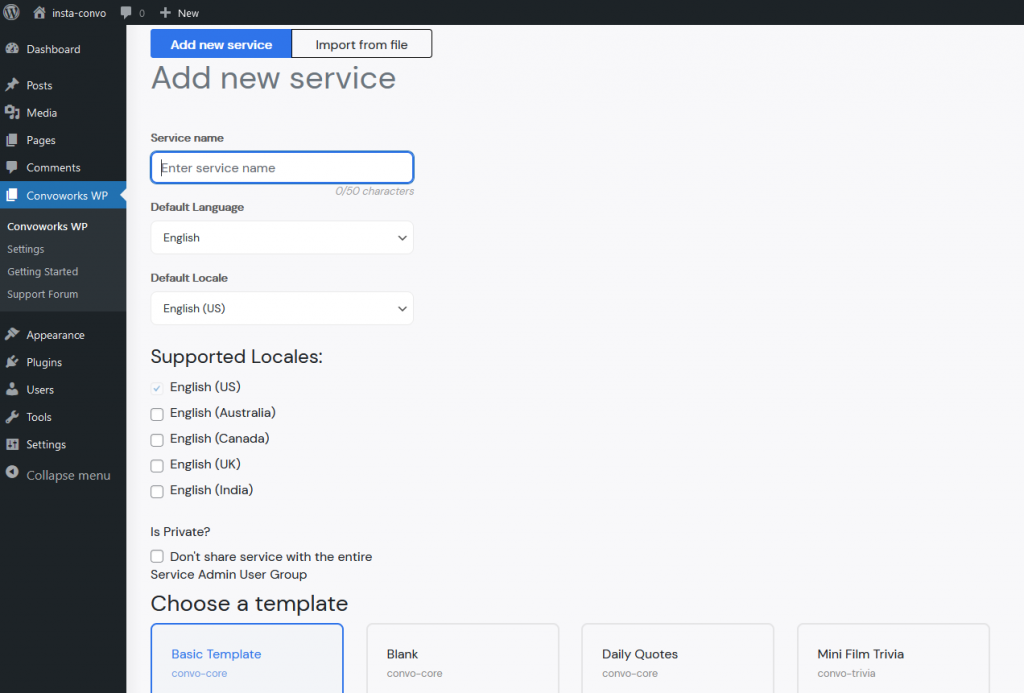
Now that we have our installation ready, let's create our first voice application (Alexa skill). Navigate to Convoworks add a new service view, enter your application name and press "Submit". By default service is created from the "Basic Template" which has built in some necessary conversation features, so we can even test it.
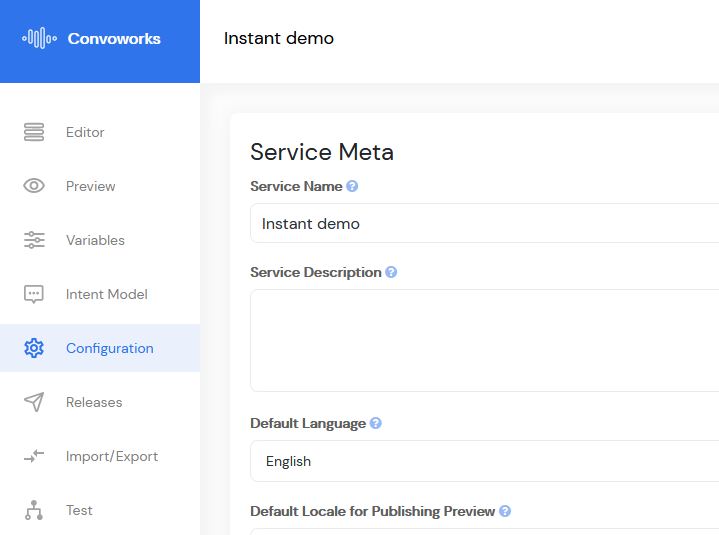
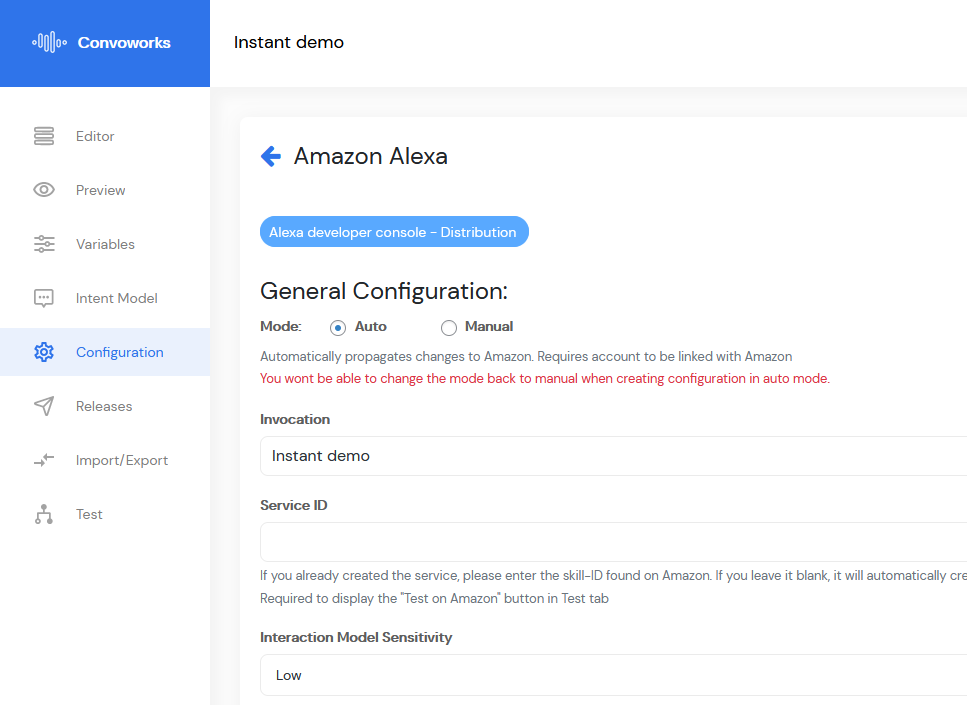
Now we have to make it available through the Alexa devices. Navigate to Convoworks service configuration view and click on the Configure button on Amazon card below in the view. Once you are on the Amazon configuration view, just scroll to the bottom and press "Create". You'll notice in the top section "Building Amazon" text which will disappear in less than a minute.
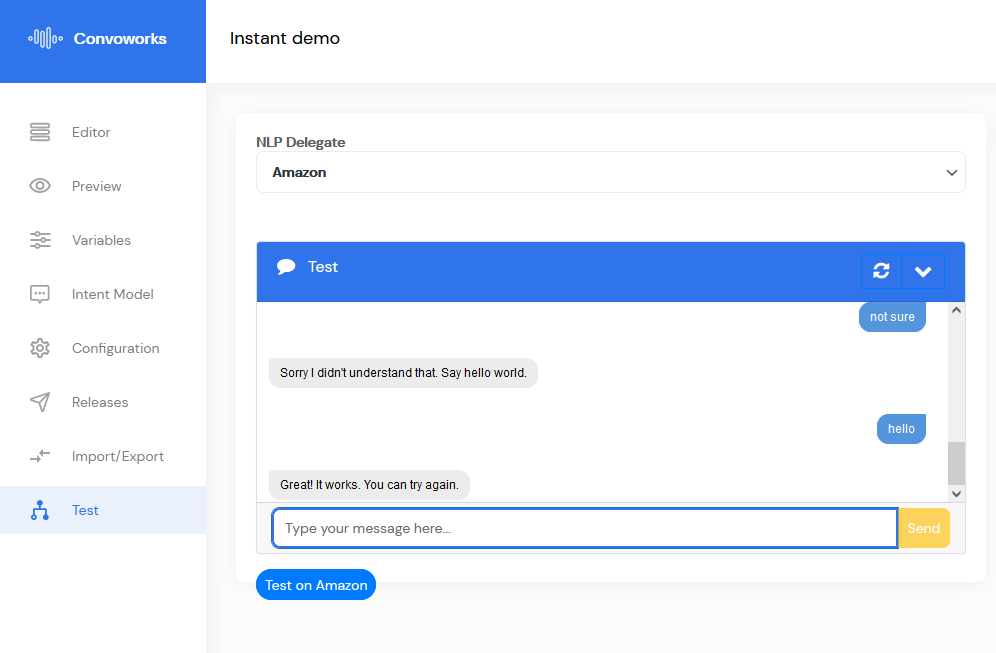
 Once the build is done, you can navigate to Convoworks Test view and try the service. Select "Amazon'' from the dropdown on top of the chat box. If you enter Hi, Hello it will respond that it works. If you enter something else, it will respond that it does not understand. It also supports help, start over and end session commands.
Our internal test view right now supports just text mode. You can also try your skill inside Amazon ASK console, with your Alexa mobile application (available for iOS and Android) or with the real Amazon Echo device.
Learn how to use Convoworks with our Getting started tutorial.
